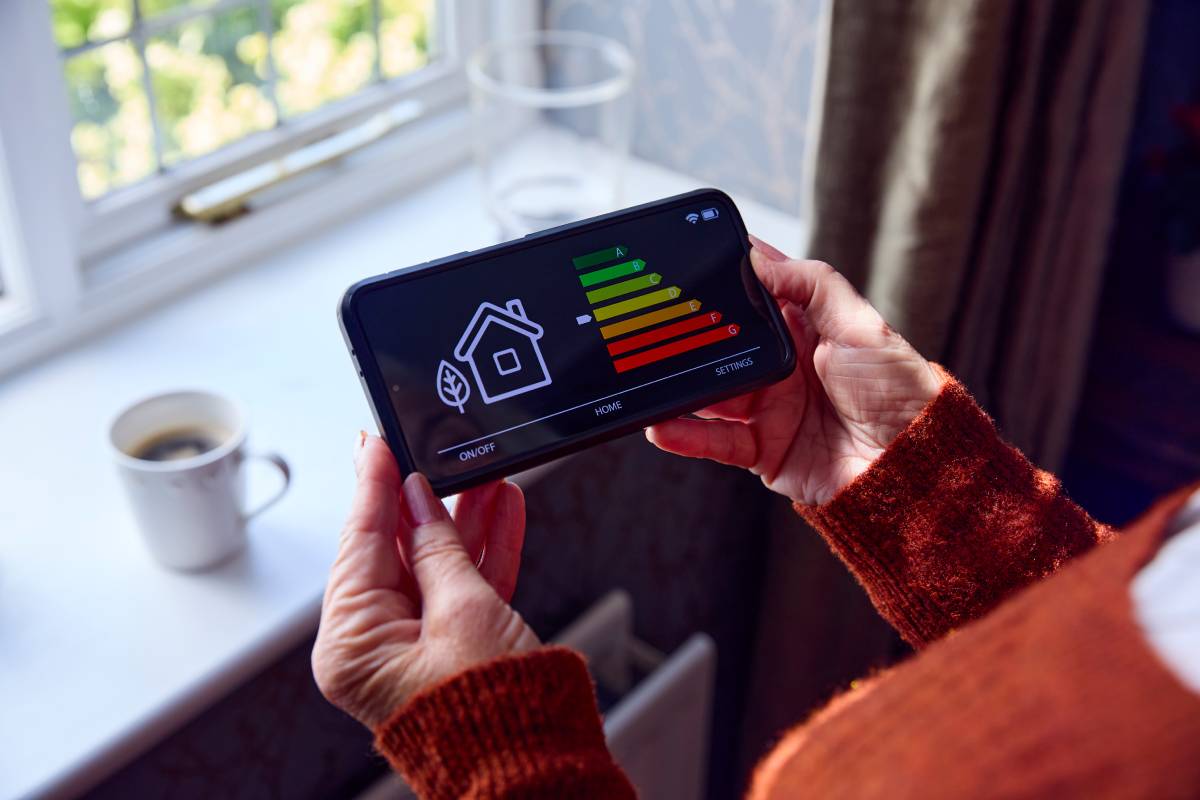
Is your utility bill creeping higher every month, even though you aren’t using more electricity?
It’s a frustrating reality for millions of homeowners. You pay for heat that escapes through invisible cracks in your windows and air conditioning that leaks into your attic. Essentially, you are burning money. Over the course of a year, these invisible inefficiencies can cost you hundreds, sometimes thousands, of dollars, not to mention the unnecessary strain on the planet.
The solution isn’t always expensive renovations; it’s information. By performing a DIY home energy audit, you can pinpoint exactly where your home is losing energy and fix the “bleeding” immediately. This guide will walk you through a professional-grade inspection you can do yourself this weekend.
TL;DR: The 5-Step Audit Checklist
What is a Home Energy Audit?
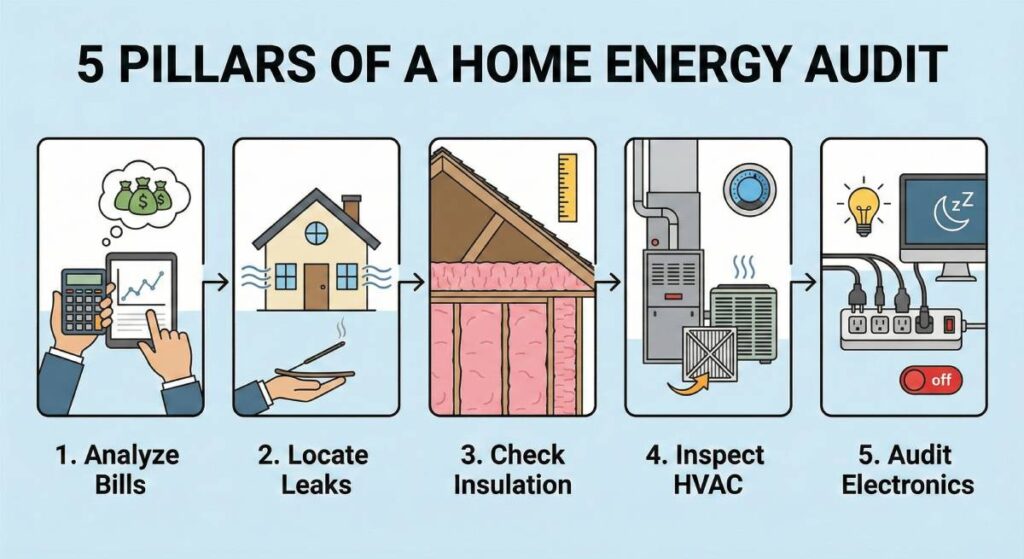
A home energy audit is a systematic assessment of your home’s energy use to identify inefficiencies. To perform a basic DIY audit, follow this ordered process:
- Analyse Bills: Compare monthly usage year-over-year to find spikes.
- Locate Leaks: Use the “incense test” on windows, doors, and outlets to find drafts.
- Check Insulation: Verify attic floor insulation depth and check for wall voids.
- Inspect HVAC: Check furnace filters and ductwork for disconnected joints.
- Audit Electronics: Identify “phantom loads” and switch to LED lighting.
Step 1: Analyse Your Energy Bills
Before you pick up a tool, you need data. You cannot manage what you do not measure.
Locate your utility bills for the last 12 months. Most utility providers offer an online portal where you can view historical usage graphs.
- Look for Spikes: Did your bill jump in January compared to last January? If usage increased but the weather was mild, you have an efficiency problem.
- Identify the “Base Load”: Look at your usage during “shoulder months” (April or October) when you aren’t using much heat or AC. This shows how much energy your appliances and lighting consume constantly.
Step 2: Hunt for Air Leaks
Air leakage is often the single biggest energy waster in residential homes. The goal here is to find where the conditioned air you paid for is escaping.
Common Leak Zones
- The Building Envelope: Windows, door frames, and baseboards.
- The Penetrations: Electrical outlets, switch plates, and pipe entries under sinks.
The “Incense Stick” Test
This is a low-tech, high-accuracy trick used by pros before they deploy thermal cameras.
- Turn off all fans and close all windows.
- Light an incense stick or candle.
- Slowly pass the stick around the edges of windows, electrical outlets, and door frames.
- The Result: If the smoke wavers or is sucked horizontally, you have a leak.
Fix Action: Apply caulk to stationary cracks (like window frames) and weatherstripping to moving parts (like doors and sashes).

Step 3: Check Insulation and Ventilation
Heat naturally moves from warmer areas to cooler areas. In winter, it wants to leave your house; in summer, it wants to get in. Insulation is your barrier.
- The Attic Inspection: Pop your head into the attic hatch. If you can see the wooden floor joists, you likely don’t have enough insulation.
- Rule of Thumb: You generally want a minimum of R-38 (about 10-14 inches of depth depending on the material).
- The Wall Touch Test: On a very cold day, touch your interior walls. They should feel cool, but not freezing. If they are ice cold, your wall insulation may have settled or is non-existent.
Warning: When sealing leaks and adding insulation, ensure you don’t block ventilation. Your house needs to “breathe” to prevent mould and carbon monoxide buildup.
Step 4: Inspect HVAC and Equipment
Your Heating, Ventilation, and Air Cooling (HVAC) system is the engine of your home. If it’s not tuned, it burns excess fuel.
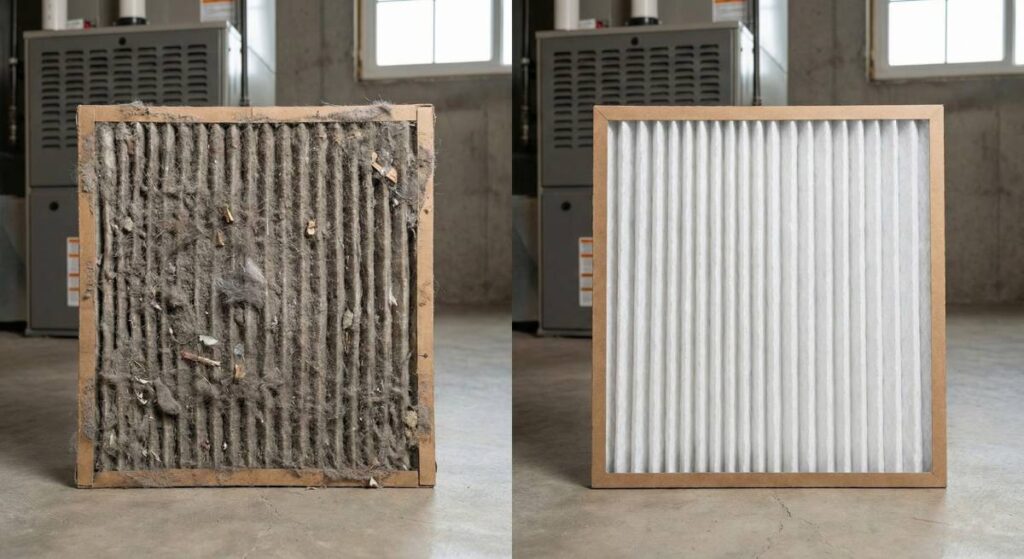
- Filters: Check your furnace filter. If it looks like a dryer lint trap, it’s choking your system. Replace filters every 3 months.
- Ductwork: If you have a forced-air system, inspect the ducts in your basement or attic. Look for streaks of dust near the seams; this indicates air leaking out. Seal these with mastic tape (not duct tape, which falls off).
- Age of Equipment: If your unit is over 15 years old, simply replacing it with an Energy Star-certified model can reduce energy use by 15-20%.
Step 5: Lighting and “Vampire” Loads
Do you have devices that suck power even when they are “off”? These are called Phantom Loads or Vampire Power.
The Usual Suspects
- Computers in “sleep” mode.
- Smart TVs and gaming consoles.
- Phone chargers left plugged in.
The Fix: Use Smart Power Strips. These cut the power to peripherals (like a printer) when the main device (the computer) is turned off.
The Lighting Audit
Walk through your home and count the incandescent bulbs.
- Fact: Incandescents release 90% of their energy as heat, not light.
- Action: Replace them with LEDs. LEDs use 75% less energy and last 25 times longer.
Comparison: DIY Audit vs. Professional Audit
Should you do it yourself or hire a pro? Here is the breakdown.
While a DIY checklist is an excellent first step, it has limitations. If your audit reveals significant issues or if you are planning a major renovation, we recommend consulting experts like Reds Power Solutions. A professional team can deploy advanced tools like blower doors and thermographic cameras that go beyond what the naked eye can see. Furthermore, if your audit uncovers deep cracks or sagging areas that go beyond simple airflow issues, you may need to consult a structural engineer to ensure the building’s integrity before applying heavy insulation.
| Feature | DIY Energy Audit | Professional Audit |
| Cost | Free (Cost of materials only) | $300 – $600 (often rebated) |
| Tools Used | Flashlight, Incense, Visual | Blower Door, Thermographic Camera |
| Accuracy | Good for obvious leaks | Precise scientific measurement |
| Best For | Routine maintenance & quick fixes | Older homes or major renovations |
Conclusion
Learning how to do an energy audit of your home is the first step toward a more comfortable living space and a healthier bank account. You don’t need to fix everything at once. Start by sealing the obvious air leaks and changing your filters. These small “Sunday afternoon” tasks compound over time into massive savings.
If you could save $300 this year by spending just one hour checking your windows today, would you do it?